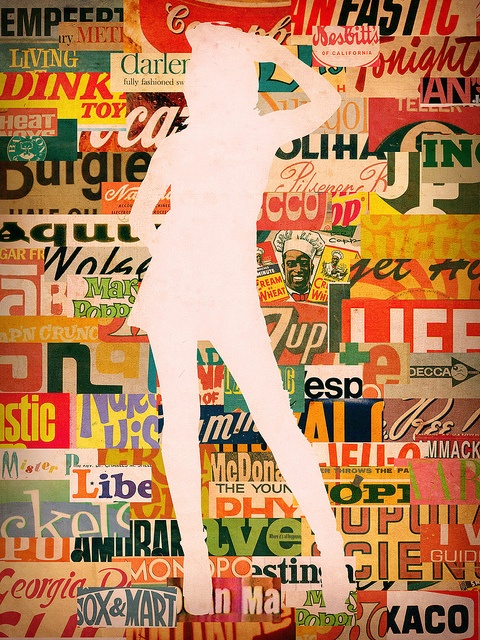
Positive Negative Figure


Supplies:
12 x 18 paper (white), 9 x 12 paper (black or white), magazines,
scissors, glue
Homework (Due Monday, Sept. 9th):
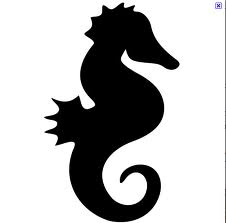
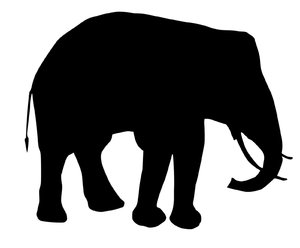
Find a picture of either a full figure (entire head and body) person or animal, print it out (full page print), and bring it to class on Monday. If you are unable to access a printer, please see Miss Warner!
Process:
1.) Gather supplies: magazine, large white drawing paper, scissors, and glue.
2.) Write your name on the back of the paper and turn over!!
3.) Select a magazine. Using the magazine, you will select pages to cut out into strips (no larger than ½ inch) and gluing them onto your large white paper.
·Things to think about: how will your strips fit together? Color scheme, similar words, and similar items are all good ideas on what to do to make your magazine strips fit together.
4.) Once you have your strips cut out, arrange them on your white paper, and begin gluing the strips onto the paper. This is called a “collage.” Use good craftsmanship (no excessive glue)! Your entire background needs to be covered before moving to step 5.
5.) Once you have completed step 4, please see the Grid Drawing sheet. We will be discussing Grid Drawing in class on Monday.
6.) Complete and transfer your figure onto the smaller black or
white paper using the Grid Drawing method
7.) Cut out the figure. Use your very best cutting! Take your time! No jagged edges!
8.) Erase any extra pencil lines left on your figure.
9.) Arrange your figure on the magazine collage paper in the center of the paper. Glue down the figure to the magazine collage paper.
12 x 18 paper (white), 9 x 12 paper (black or white), magazines,
scissors, glue
Homework (Due Monday, Sept. 9th):
Find a picture of either a full figure (entire head and body) person or animal, print it out (full page print), and bring it to class on Monday. If you are unable to access a printer, please see Miss Warner!
Process:
1.) Gather supplies: magazine, large white drawing paper, scissors, and glue.
2.) Write your name on the back of the paper and turn over!!
3.) Select a magazine. Using the magazine, you will select pages to cut out into strips (no larger than ½ inch) and gluing them onto your large white paper.
·Things to think about: how will your strips fit together? Color scheme, similar words, and similar items are all good ideas on what to do to make your magazine strips fit together.
4.) Once you have your strips cut out, arrange them on your white paper, and begin gluing the strips onto the paper. This is called a “collage.” Use good craftsmanship (no excessive glue)! Your entire background needs to be covered before moving to step 5.
5.) Once you have completed step 4, please see the Grid Drawing sheet. We will be discussing Grid Drawing in class on Monday.
6.) Complete and transfer your figure onto the smaller black or
white paper using the Grid Drawing method
7.) Cut out the figure. Use your very best cutting! Take your time! No jagged edges!
8.) Erase any extra pencil lines left on your figure.
9.) Arrange your figure on the magazine collage paper in the center of the paper. Glue down the figure to the magazine collage paper.
| positive_negative_figure.docx |
| gridding.docx |
| pos.neg.figure_rubric.docx |
